How To Make Thermal Paste at Home: 5 Simple DIY Methods
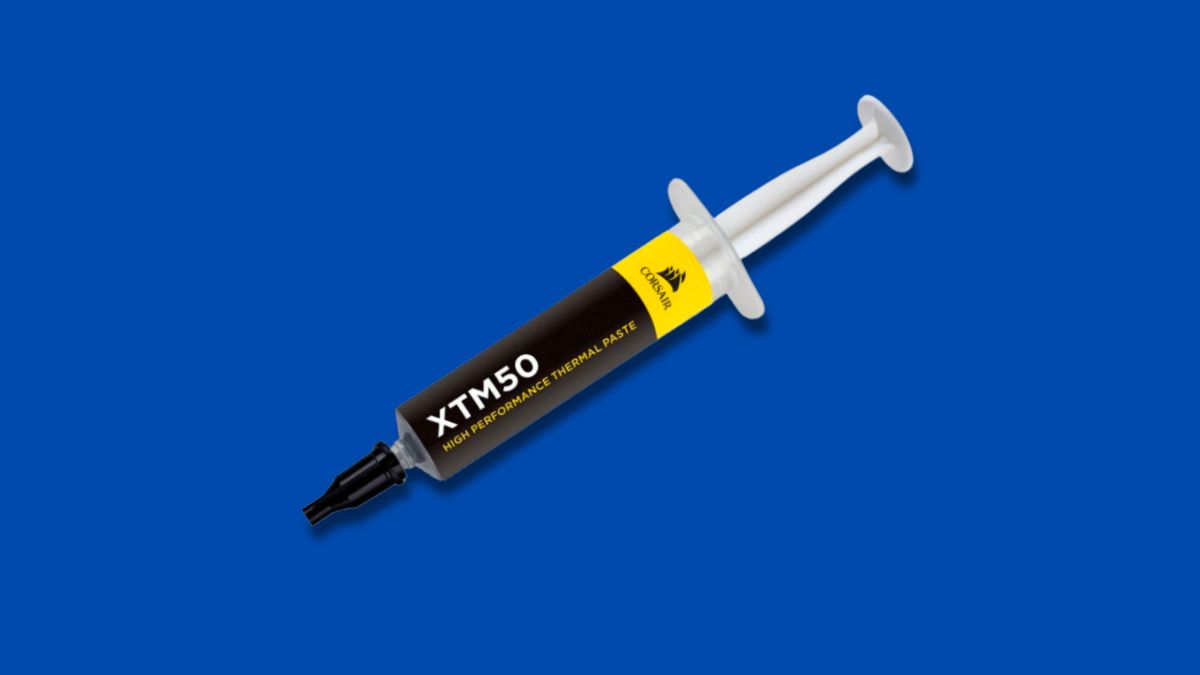

Are you wondering how to make a thermal paste at home? Well, you’re in for a treat! Today, I’m going to share a secret recipe that will save you some serious cash and keep your computer running cool. That’s right, we’re going to learn how to DIY a thermal paste yourself.
You see, thermal paste is an essential component when it comes to efficiently transferring heat away from your CPU or GPU. But buying it from the store can be costly, and who wants to wait for shipping? Fear not, because I’ve got your back. In this blog post, I’ll guide you through the process of creating your own homemade thermal paste using easily accessible ingredients.
Whether you’re a tech enthusiast looking for a fun experiment or a budget-conscious individual seeking a cost-effective solution, this DIY project is perfect for you. So, roll up your sleeves, grab your ingredients, and let’s get started on this exciting thermal paste adventure!
Thermal Paste: Quick Overview
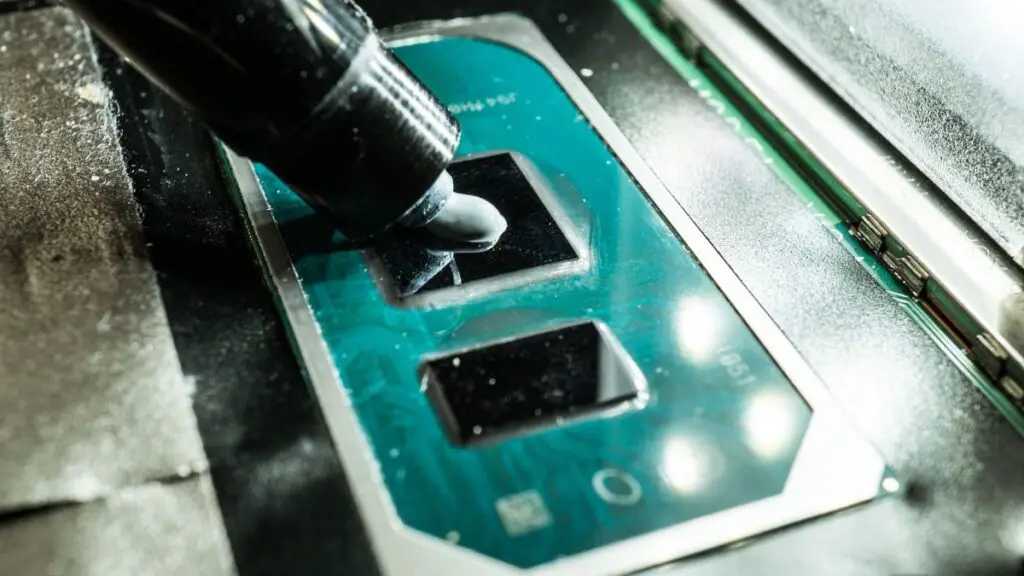

Thermal paste may seem like a tiny and insignificant component, but it plays a crucial role in maintaining optimal performance and longevity of your computer’s CPU and GPU. It is a heat-conductive material that is applied between the processor and the heat sink to enhance heat transfer.
The primary purpose of thermal paste is to fill in microscopic gaps and imperfections between the processor and the heat sink, ensuring efficient heat dissipation. Without thermal paste, air pockets could form, hindering heat transfer and leading to higher temperatures. As temperatures rise, the risk of thermal throttling increases, causing performance degradation and potentially damaging the hardware.
Over time, thermal paste can degrade, dry out, or lose its effectiveness due to temperature fluctuations and continuous use. This deterioration can lead to increased operating temperatures, reduced performance, and even system instability. That’s why replacing thermal paste periodically is essential to maintain optimal cooling and maximize the performance potential of your computer.
By replacing thermal paste, you can improve heat transfer, lower temperatures, and potentially achieve better overclocking capabilities. It ensures that your CPU and GPU can operate at their full potential, avoiding performance bottlenecks and system slowdowns. So, don’t underestimate the power of thermal paste—it’s a small but mighty component that can make a significant impact on your computer’s performance.
How to Make a Thermal Paste at Home
Below are the top DIY methods for making thermal paste at home:
Toothpaste and Petroleum Jelly
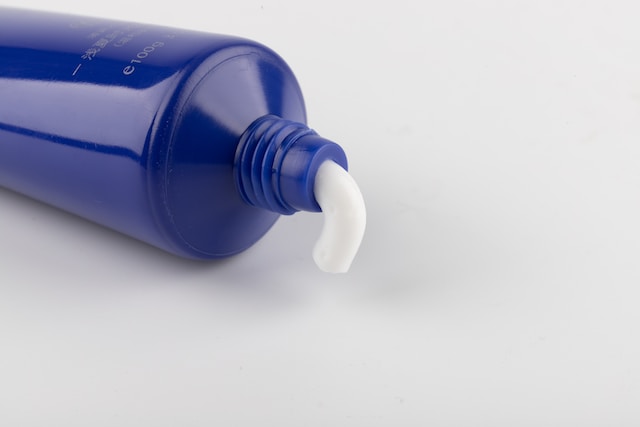

Using toothpaste and petroleum jelly to make thermal paste at home is a simple and accessible method. Toothpaste, preferably a non-gel type with high silica content, combined with petroleum jelly can create a makeshift thermal paste with moderate thermal conductivity. While this homemade solution is not as effective or long-lasting as commercially available thermal pastes, it can serve as a temporary solution.
To create thermal paste using toothpaste and petroleum jelly, follow these steps:
- Gather the materials: You will need non-gel toothpaste and petroleum jelly.
- Mix equal parts: Take a small bowl or container and combine equal amounts of toothpaste and petroleum jelly. Mix them thoroughly until they form a consistent paste.
- Adjust consistency if needed: If the mixture appears too thick, you can add a tiny amount of petroleum jelly to make it more spreadable. Alternatively, if it’s too runny, you can add a small amount of toothpaste.
- Apply the homemade thermal paste: Using a plastic spatula or a small brush, apply a thin and even layer of the homemade thermal paste onto the surface of the processor or heat sink.
- Install the heat sink: Once the thermal paste is applied, carefully attach the heat sink to the processor, ensuring proper alignment and pressure.
Mayonnaise


Creating thermal paste at home using mayonnaise is an unconventional and temporary solution. Mayonnaise contains oils and fats that can aid in heat transfer, albeit not as effectively as specialized thermal pastes. This method should only be used as a last resort or in emergency situations.
To make thermal paste using mayonnaise, follow these steps:
- Gather the materials: You will need mayonnaise (preferably full-fat, regular mayonnaise).
- Prepare the surface: Clean the processor and heat sink thoroughly to remove any existing thermal paste residue or debris. Ensure both surfaces are dry before proceeding.
- Apply mayonnaise: Take a small amount of mayonnaise and spread it evenly over the surface of the processor or heat sink. Use a plastic spatula or a small brush for application.
- Install the heat sink: Carefully align the heat sink and firmly press it down onto the processor, ensuring proper contact and alignment.
- Monitor performance: Keep a close eye on the temperatures of your system after applying mayonnaise as a thermal paste substitute. It is not a long-term solution, and the mayonnaise may dry out quickly, leading to reduced effectiveness.
Metal-Based Solutions


Creating thermal paste at home using metal-based solutions like gallium or liquid metal alloys requires caution and proper handling. These materials offer excellent thermal conductivity but are electrically conductive and can be corrosive. This method is more advanced and should be undertaken with care.
To make a thermal paste using metal-based solutions, follow these steps:
- Gather the materials: You will need metal-based substances such as gallium or a liquid metal alloy (e.g., a mixture of gallium, indium, and tin).
- Prepare the surface: Clean the processor and heat sink thoroughly to remove any existing thermal paste residue or debris. Ensure both surfaces are dry before proceeding.
- Apply a thin layer: Use a small brush or applicator to apply a very thin layer of the metal-based solution onto the surface of the processor. Take care to avoid excess application as it can lead to electrical short circuits.
- Spread evenly: Gently spread the metal-based solution across the surface of the processor, ensuring even coverage. Pay attention to avoid any contact with surrounding components.
- Install the heat sink: Once the metal-based solution is applied, carefully align the heat sink and firmly press it down onto the processor, ensuring proper contact and alignment.
Egg Whites


Using egg whites as a thermal paste substitute is an unusual method and should only be considered as a temporary solution in emergency situations. While egg whites contain proteins that can aid in heat transfer, they are not specifically designed for thermal applications and may not provide optimal performance or longevity.
To make thermal paste using egg whites, follow these steps:
- Gather the materials: You will need fresh egg whites from raw eggs.
- Separate the egg whites: Carefully crack open an egg and separate the egg white from the yolk. Collect the egg white in a small container.
- Whisk the egg whites: Use a fork or whisk to beat the egg whites until they become frothy and well-mixed.
- Apply a thin layer: Using a small brush or applicator, apply a thin layer of the whisked egg whites onto the surface of the processor. Ensure even coverage while avoiding excess application.
- Install the heat sink: Once the egg whites are applied, carefully align the heat sink and firmly press it down onto the processor, ensuring proper contact and alignment.
Ceramic-Based Mixtures


Creating thermal paste at home using ceramic-based mixtures is a viable option that can provide moderate thermal conductivity. Ceramic powders, such as alumina or zinc oxide, combined with a silicone oil or silicone grease, can form a DIY thermal paste with improved heat transfer properties.
To make thermal paste using ceramic-based mixtures, follow these steps:
- Gather the materials: You will need ceramic powder (alumina or zinc oxide) and a silicone oil or silicone grease.
- Mix the ingredients: In a small bowl, combine the ceramic powder with the silicone oil or silicone grease. The ratio will vary depending on the specific materials used, but start with a 1:1 ratio and adjust as needed for a paste-like consistency.
- Stir and blend: Use a spatula or stirrer to thoroughly mix the ceramic powder and silicone oil or grease until they form a homogeneous paste. Ensure there are no clumps or lumps in the mixture.
- Apply the thermal paste: Using a plastic spatula or a small brush, apply a thin and even layer of the ceramic-based thermal paste onto the surface of the processor or heat sink.
Are DIY Methods for Making Thermal Paste Safe?
DIY methods for making thermal paste can serve as temporary solutions in emergency situations, but they come with certain risks and limitations. These homemade alternatives don’t provide the same level of performance, longevity, or reliability as commercially available thermal pastes specifically designed for the task. They can dry out quickly, have varying levels of thermal conductivity, or lack the necessary consistency for optimal heat transfer.
For long-term and optimal performance, I strongly recommended investing in a proper thermal paste. Commercially available thermal pastes are affordable and readily accessible. They are specifically formulated with high-quality materials to ensure efficient heat transfer, stability, and longevity. Investing in a reliable thermal paste designed for your specific needs is the best way to ensure optimal cooling and performance for your system.
If you’re looking for more information on thermal pastes for specific devices and uses, be sure to check out our related articles linked below. These resources will provide you with valuable insights and guidance tailored to your specific requirements.
- PS3 thermal pastes
- Xbox 360 thermal pastes
- Thermal pastes for overclocking
- Nintendo Switch thermal pastes
- Non-conductive thermal pastes
- Thermal pastes for Ryzen 5 5600
Frequently Asked Questions
While toothpaste can be used as a temporary solution in emergencies, I don’t recommend it for long-term use. Toothpaste lacks the necessary thermal conductivity and stability of proper thermal paste, and its ingredients may not be suitable for sustained heat and electrical conditions.
Homemade thermal pastes carry risks and limitations. DIY mixtures may dry out quickly, have inconsistent thermal conductivity, or pose potential electrical hazards. For safe and optimal performance, it’s best to invest in commercially available thermal pastes specifically designed for electronic devices.
The longevity of homemade thermal pastes varies. DIY mixtures, such as toothpaste or mayonnaise, are temporary solutions and may dry out or degrade faster than commercial options. They are not intended for long-term use. It’s recommended to replace them with proper thermal paste for sustained performance.


